
Studding Your Snowmobile Track
Studding your snowmobile track is a safe thing to do.
Put up your hand if you’ve slid through a corner and ended up in the bush. Have you crossed a lake, got the next land crossing, hit the glare ice found at every portage, and then slid into the portage at a much higher speed than you wanted?
Ironically a buddy texted while writing this, and I quote; “So…..I rolled her lol. Runs mint but time for some parts lol. No studs and glare ice are a bad combo when stopping lol.” Running a non-studded track is simply very, very, unsafe.
When discussing studding a snowmobile track, the topic of pre-studded or lug-studded tracks comes into play. We remember the first 1” and 1.25” pre-studded tracks we tested, and they were pretty darn good and impressive. What we have found is that yes, they increase the traction and safety when compared with a non-studded track, but that traditional studs are still the answer when high amounts of control are required on icy surfaces.
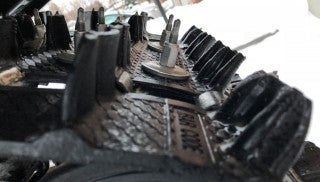
If you haven’t looked closely at our pictures yet, we actually studded our Camso 1.6” Ice Cobra test track because we felt that our 120” 800cc test-sled didn’t have the traction we needed for both acceleration and deceleration. Here is the link to that Tested article: Tested: Camso Ice Cobra 1.6″
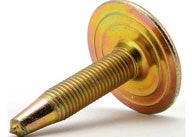
For our installation and test, we reached out to Woodys Traction. They recommended 84 Grand Masters and washers specifically for our Camso 1.6″ Ice Cobra single ply track.
Shop For Snowmoible Track Studs
What Studs Do You Require?
When we chose studs we check a few things:
- Is our track in reliable condition to install studs?
- The snowmobile Manufacturer’s recommendation
- The track manufacturers recommendation
- What penetration do I want?
- Is my track measured by Profile or Lug height?
- Both are used, often depending on the ply/s
- Are the appropriate tunnel protectors installed?
- The number of studs – perf/trail/utility etc.
One of the best sources of information are the stud manufacturers themselves. They all offer technical service phone numbers to discuss everything you’ll need. Keep in mind they all offer specialized drill bits, marking aids, tightening tools, and even sockets that don’t bind on the washers.
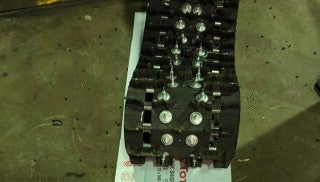
Choosing Your Pattern
Many stud manufacturers have templates that are very easy to use. Some people chose their own custom pattern as well. Whichever you chose, once you have them all marked, take the time to roll the track over and confirm the pattern and the correct number of studs as it’s easy to make an error.
Installation
It is easiest to install studs when a track is removed from the snowmobile. If the track is installed on the snowmobile, we remove the rear suspension, lift the tunnel up high and work away. Make note that having minimal fuel in your tank is recommended when lifting the tunnel up high so that your fuel doesn’t drain out the vent. If installing studs with the suspension in, be very careful not to damage wheels, components, or your stud drill.
Step 1, read the instructions, follow the instructions, call the manufacturer if you have any questions.
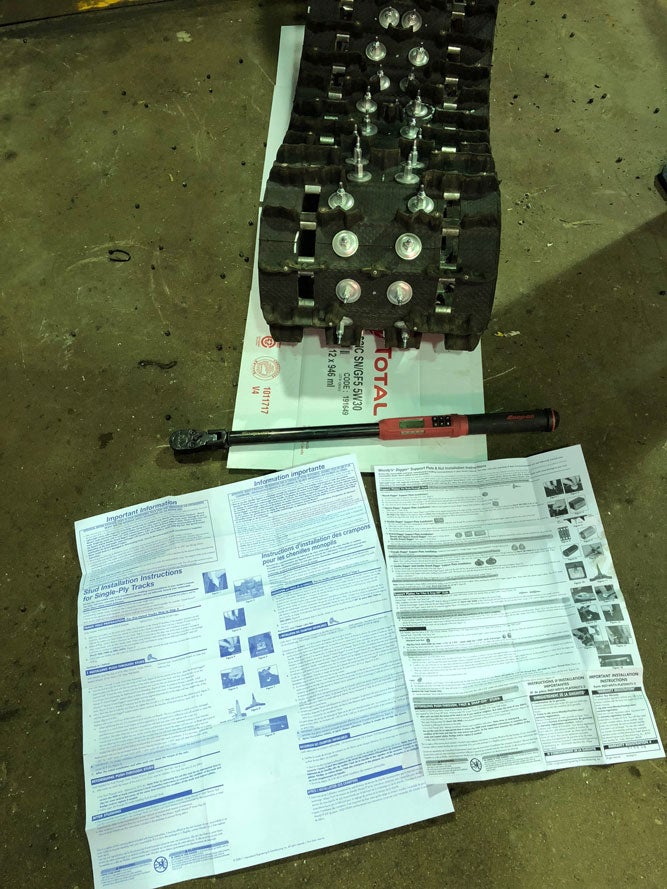
The instructions and a torque wrench are very important to your studding success.
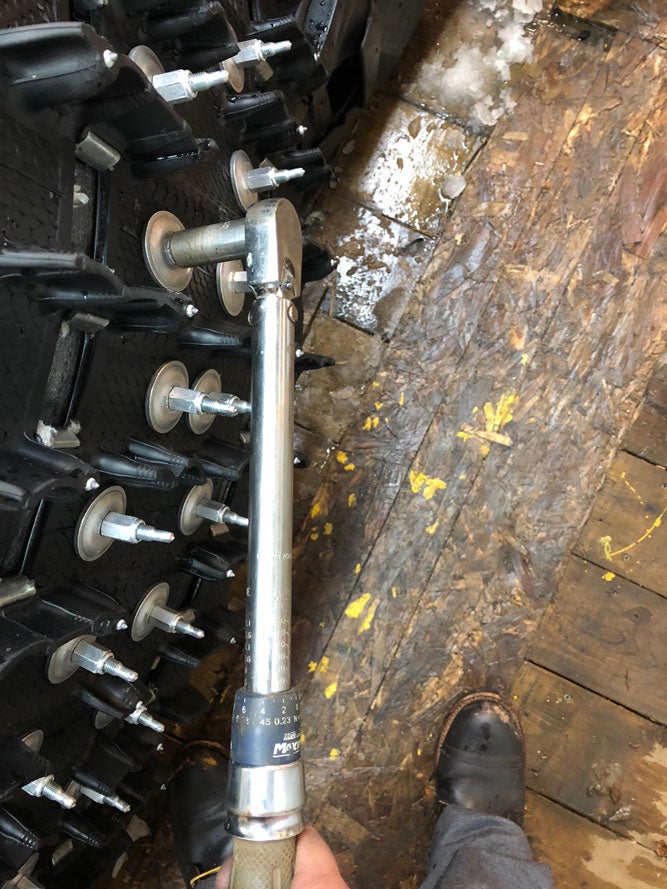
Torque and re-torque Your Studs Until They Hold Torque
Many of us are using brushless electric drills these days. We tested our 20v drill at a very slow speed (so as not to damage the threads) to snug up the nuts. Ironically we used 2.5 batteries and our drill needed 2 cool down cycles. We tested the maximum torque of the drill on 3 studs and they seemed tight. But our torque wrench told us two things; 1) they were only holding 10-15 foot-pounds of torque, and 2) that they the drill was not consistent. There is no replacement for a torque wrench. It took 3 sessions until every stud held the recommended torque of 30 ftlbs. Oh, and next time we’ll go back to using an air ratchet.
Retorquing after riding is a Very Important Step
This is one the most overlooked steps. Once you’ve ridden you need to retorque as many times as required until they hold torque. Many of the complaints we’ve heard about studs are that they damage wheels, pull through, or come loose. Many of these issues can be avoided by retorquing.
Retorque each stud after your first ride and as many rides as it takes for them to hold their final torque.
Taking care while riding
Bent studs, pull throughs, and ripped tracks are all rider error problems. Momentum is the answer to your problem. Gain speed before climbing over rocks instead of trying to accelerate on those rocks. Learn to have control and use momentum to get over rocks, stumps, when loading, crossing roads, etc. Momentum is your friend and avoiding spinning your track and damaging your studs and track is your goal. Be gentle on surfaces that aren’t snow.
Stud Maintenance
When preparing your sled each year, look for bent, broken, or loose studs and washers. If you find bent or broken studs, replace them, or cut them down with a cutting disc. Add this to your list and give yourself the time.
Conclusion
It’s simple, a studded track is safer than a non-studded track. Studded track can last 10,000 + miles, but only if you install the studs correctly, take care of it while riding, and include it on your maintenance checklist.
We are committed to finding, researching, and recommending the best products. We earn commissions from purchases you make using the retail links in our product reviews. Learn more about how this works.


 Your Privacy Choices