
Boyesen Rage Cage Install and Review
A simple DIY that added performance to our 2014 800cc Polaris
Boyesen Engineering is well known in the power sports industry for its quality aftermarket products. Of interest to snowmobilers are Boyesen’s reeds and Rage Cages, which the company makes for many of today’s 2-stroke snowmobiles. One of those engines is the 800cc Polaris Cleanfire twin, which we updated for this article.
The actual do-it-yourself aspect of adding the Boyesen product is relatively simple for an enthusiastic and knowledgeable snowmobiler with a good set of hand tools. After the installation you’ll want to do some preliminary testing, which is how we discovered and solved some problems just in time to prevent some major engine failures. We put the 800cc CFI engine through its paces in a single day with the following the results of testing.
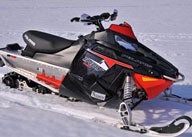
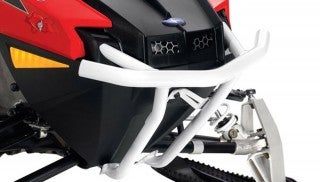
 We added the Boyesen Rage Cage to our Polaris 800 Indy SP.
We started our test day by riding the 800 Indy in stock trim to establish our base line and to provide us with some seat time for a truthful comparison. After this run, it was back into the shop for a Rage Cage change!
Before and After, Step by Step…
This project is a simple job for the DIY mechanic. You need a good set of hand tools, plus the tool kit that comes with the machine. A snowmobile stand would be nice so you do not need to work in an uncomfortable or bent-over position. Overall, we estimate the job should take about two or three hours.
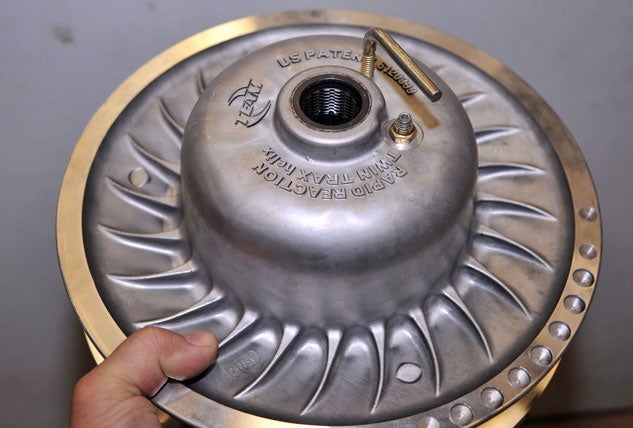
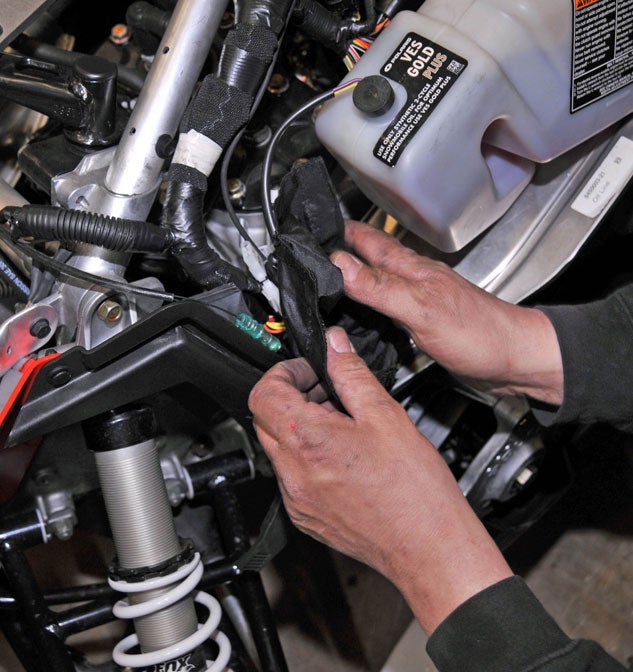
Start this project by removing both side panels to expose all the internal mechanical components. Removing side panels and the hood affords lots of room to work.
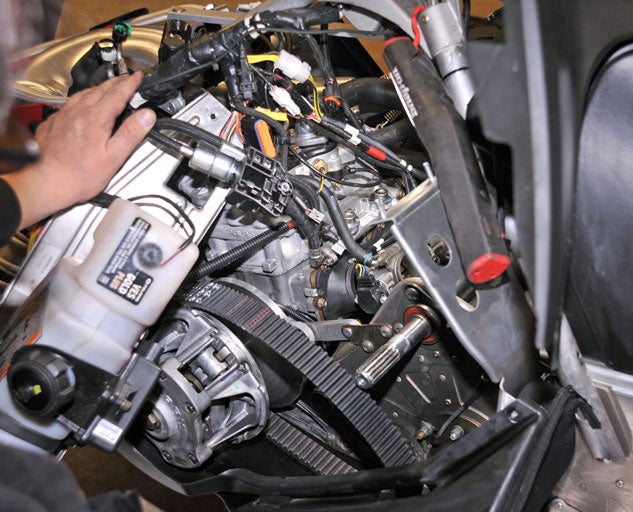
Start by removing the secondary clutch; the clutch cover is also the mount for the oil tank. Here’s a tip about the oil tank, be careful of the oils lines. The easiest procedure here is to remove the main oil line from the bottom of the oil tank and then lay the oil tank aside and try to leave the smaller oil lines undisturbed. We had a problem here; with the small oil line that goes to the PTO side of the engine. It was fastened with a zip tie and became loose after our install, causing a leak. This lack of oil to the PTO side could have been a major failure, but we caught this in the nick of time…so be cautious around these connections.
There is a special clutch tool in the Polaris tool kit that spreads the secondary halves, making it very easy to remove the drive belt. You’ll want to use it.
You’ll need to temporarily disconnect several connections from the wiring harness. Make note of these connections so you have a reference to fall back on.
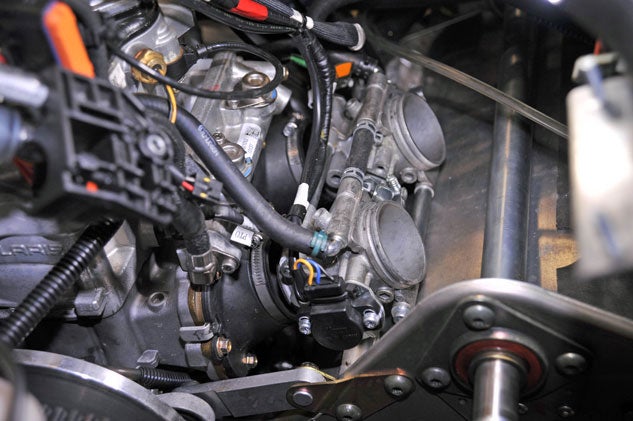
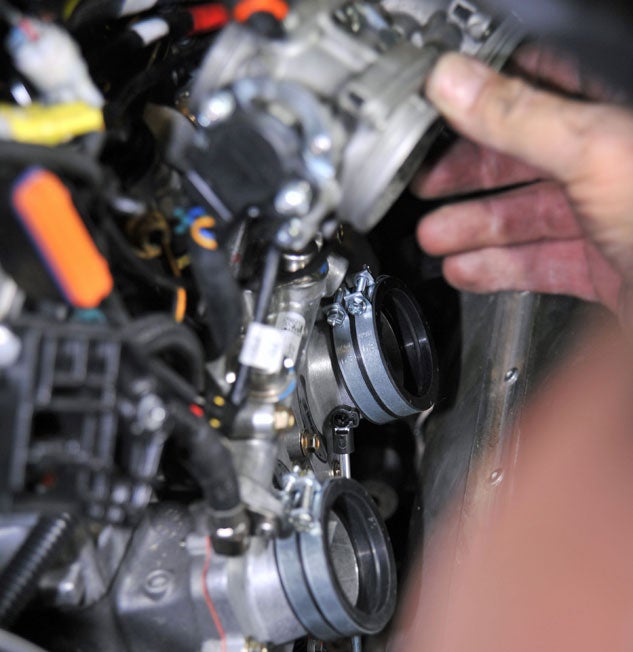
The air box can be removed from the clutch side, but just know that it’s a very tight fit. Once the air box is removed the throttle bodies are now in view plain view. This assembly can be removed from the stock boots and can be pushed aside. There is no reason to disconnect any fuel lines here. Once the clamps are loose, remove the throttle body by pushing the assembly up and down and side to side to break the rubber seal. Once this unit is removed push the throttle body out of the way and use zip ties to hold it up and out of the way.
Now you can remove the stock reed cages and housing, which is a relatively simple task. Once everything is removed, DO NOT use the old Polaris screws, use the Boyesen screws and gaskets supplied. These new screws are the right length for the Boyesen Rage Cage assembles.
Please note that reeds are fragile, so handle these units with care.
Installing the Boyesen Rage Cage is not difficult as Boyesen’s install kit comes with everything. You might want a small amount of gasket glue to hold the gaskets in place so it doesn’t fall out of place during installation. Remember to tighten the screws in a criss-cross pattern to ensure even torque on the new parts.
The new Rage Cages are now in place. Keep the clamp screws towards the top for an easier install.
Before pushing the throttle body back into position, make sure these leading edges are clean and free from corrosion. If so, rub a small amount of dielectric grease on these surfaces. In addition to preventing corrosion in the future, it will not harm the rubber parts and will also slide together easier.
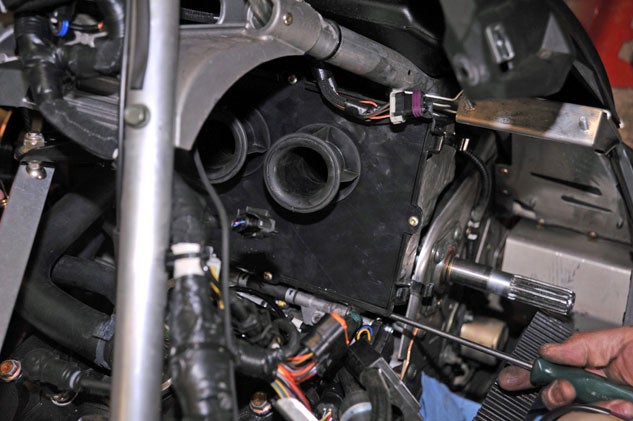
Here is another tip: during the air box install make sure to check all around the air box boots to ensure that they are properly sealed… all the way around to the throttle bodies! We had problems with this fitment.
Putting everything back together in the same order as it came apart is always a good idea. Continue to assemble the fuel lines, oil lines and wiring making sure that everything fits as it should. The fuel lines have a unique way of fastening to the inner frame by snapping into its plastic clips. Watching how things go together here is important; look at the belt guard fitment along with everything else to make certain everything lines up.
Install the belt guard along with the oil tank and oil lines as one unit. Now you can install the drive belt and check the belt deflection. Once you re-install the side panels and hood, you are ready to test ride this new product on your sled.
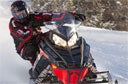
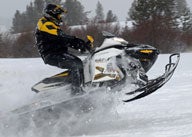
Trail-testing this stock Polaris 800 Indy SP before and after the Rage Cage change was significant. We traveled the same trails at the same speeds and noticed a big difference over the stock reed valves. The new Boyesen Rage Cage changes the power curve to the better. It gives the 800 CFI a stronger pull throughout the mid-range and all the way through to the top. The wide-open throttle position has the biggest improvement with a stronger pull. This new Rage Cage really changes the characteristics of this motor, making it more fun to ride with an overall improved performance.
Ride and Enjoy!
Stock Versus the Rage Cage
 Here’s a comparison look at the stock and the Boyesen Rage Cage from the engine side.
 A comparison look from the throttle body side of the engine.
 A side view of the stock and the Boyesen Rage Cage.
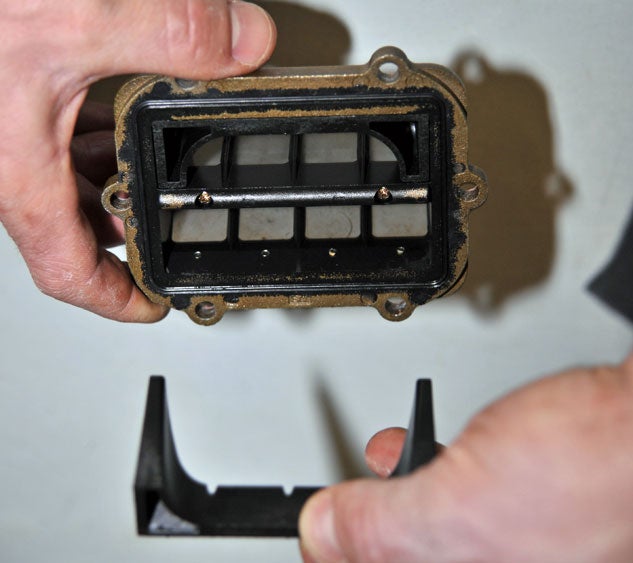
In the stock reed cage there are separate stuffing boxes (shown here below the reed cage) that Polaris adds for better performance. These stuffers take up critical space in the reed cage area to increase air speed.
Boyesen started doing this performance enhancement back in the 1970s. Back then, they knew that the engine ports are only open for X amount of time, so airflow is critical in this area. If you increase the airflow in the reed cage, you increase performance. This is standard on all Rage Cages.
Something else that makes the new Boyesen Rage Cage different from stock is the introduction of Viton rubber, which will be available this fall. This high quality rubber is especially effective even in high heat applications. High heat you say? With today’s high tech engines continually pushing the limits of high horsepower and at the same time meeting the strict demands of the EPA, there is additional heat created. This is partially achieved by running these 800 series engines on the lean side, which creates heat. Under good snow conditions the 800 engines run great with no heat issues. But when things get icy or there’s low snow that is when over-heating issues start to come into play. Today’s 800s do run hot and it’s not unheard of to reach temperatures of 190 degrees F, ouch! These heat issues are something that all 800 owners should be aware of as it could result in the rubber delaminating from the steel, leading to an engine failure. Versus the stock setup, the Boyesen system provides a superior seal as well as improved performance.
Compared to stock, we noticed that the Boyesen systems have a better way of dealing with the delaminating and corrosion from the stock systems. If there is a replacement needed to solve this problem, Boyesen is the answer, at a fraction of the cost. Plus, the performance side of this is an added bonus.


 Your Privacy Choices